As someone who has seen a lot of different basketball courts, I’ve seen my fair share of worn-out basketball nets. Not only does a weathered net look unappealing but there is something about wanting to hear that clean “swish” when your shot goes through. So, if you’re wondering how to properly put on a new basketball net, I’m here to help you the best as I can.
Replacing a basketball net might seem like a pain, but it’s actually quite simple once you gather up a few simple tools to help you out. This article will provide you with clear steps so that you’ll have a fresh new net installed for you or your kids the next time you’re on the court. Trust me when I say that your kids will appreciate the upgrade, and your hoop will look a lot better, too.
Contents
- Understanding the Basics of a Basketball Net
- Selecting the Right Basketball Net
- Choosing the Material
- Look at the Durability
- Look for
- Starting the Installation Process
- Examining the Basketball Hoop
- Gather The Necessary Tools
- Setting Up the Basketball Net
- Make Sure The Attachments are Correct
- Wrap it Up
- Maintenance Tips
- Regular Checking-
- Should You Clean Your Basketball Net?
- When Should You Replace Your Net?
- Final Thoughts
Understanding the Basics of a Basketball Net
When I first started coaching my kids in basketball, I quickly learned why a basketball net is important. A basketball net not only helps players easily determine if a shot was successful (try and shoot on a hoop without a net and if you air-balled it or swished it), but it also adds aesthetic value to the game.
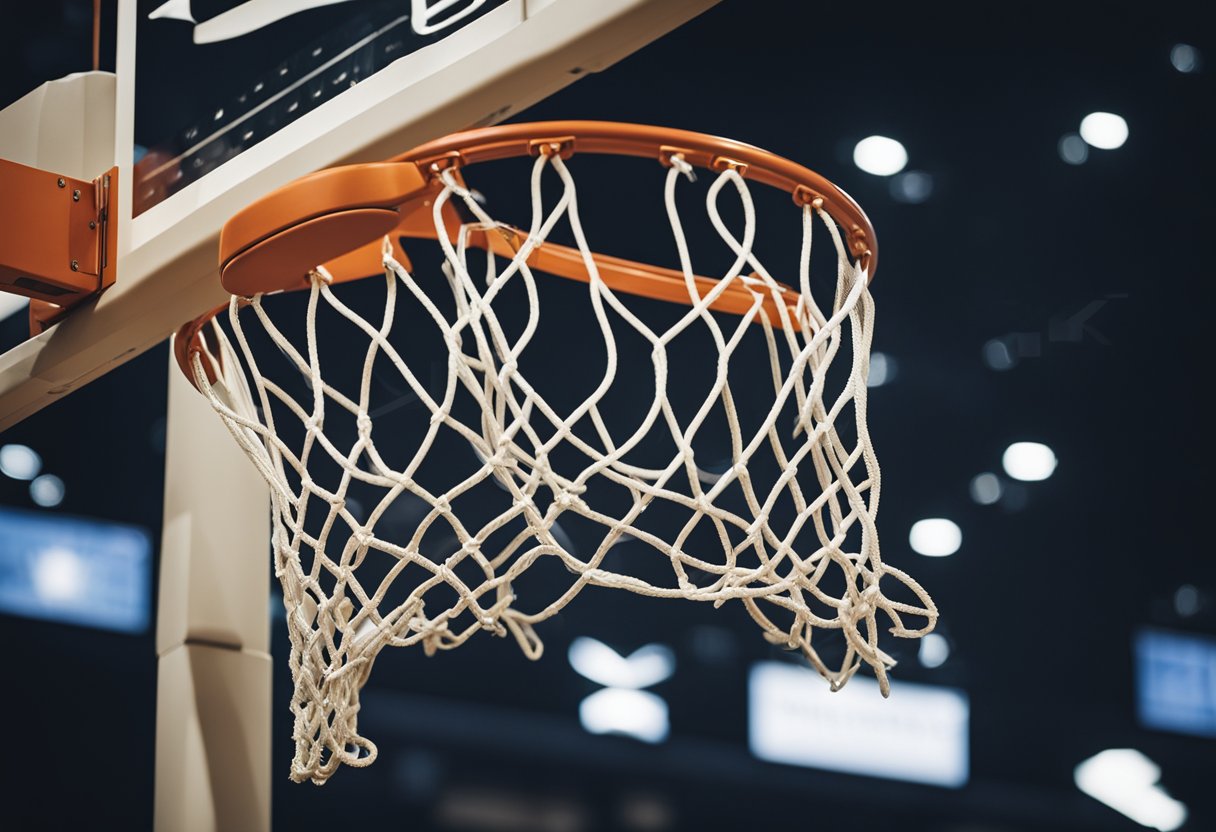
Basketball nets can be made from different materials like nylon, polyester, or cotton. Back in the day, a lot of people either didn’t use a net or they used a chain net because of the perception that it didn’t wear down as easily. Each net typically has 12 loops, which allow them to attach securely to the rim. The standard length of a net is 18 inches, but it can vary depending on the level of play and your own personal preference.
Attaching the net to the rim is a straightforward process, but it’s essential to do it the right way to make sure the net hangs properly and doesn’t come off during while you’re shooting hoops. First, I lay out the net on a flat surface to identify the large top loops and smaller bottom loops.
Attaching the net to the rim is pretty easy, and it doesn’t take a degree in rocket science to get it done. However, it is important that you install it correctly so that you can forgo further problems down the road.
Next, I make sure the basketball rim is secure and accessible. This may require a ladder or step stool to reach it comfortably, depending on what height you have your hoop set at if it’s adjustable from 7 to 10 feet. With the net in hand, I align each of the 12 top loops with the corresponding hooks on the rim, making sure they are correctly attached.
Once the net is attached and I’ve made sure that there aren’t any loops that haven’t been attached, I check if it hangs straight, and I also see if there are any loose or twisted strings. After adjusting any imperfections, the basketball net is ready for use!
Selecting the Right Basketball Net
Choosing the Material
When I’m looking for the best basketball net, the material is one of the most important aspects to consider. The two most common materials for basketball nets are polyester and nylon. Here’s a comparison of their qualities:
| Material | Advantages | Disadvantages |
|---|---|---|
| Nylon | More durable | Less weather-proof |
| Polyester | More resistant | Less bouncy feeling |
While both options have their pros and cons, I usually choose a material based on where the net will be installed and how often it will be used.
Look at the Durability
For me, durability is a key factor when selecting a basketball net just because I don’t want to have to change the net every year. I live in a cold weather climate area that gets a lot of snow, so I have to be careful as to which type of net to use. A higher-quality net should last longer and maintain its appearance. To check the durability, I consider the following points:
- Mesh count: A higher mesh count means a stronger net.
- Knots: Tight, well-made knots contribute to longer-lasting nets.
Look for
As an outdoor basketball player, weather resistance is crucial. You could always buy a chain net if they still make it, but no one wants to be the person in the neighborhood with a chain net. It’s important to ensure that the net can withstand various weather conditions. Here are some features I look for:
- UV Protection: A net with UV protection will be more resistant to sun damage, but this isn’t a huge factor.
- Water Resistance: This feature will prevent the net from absorbing water and becoming heavier during rain. This also isn’t a huge deal because even in a cold weather climate like where I live, it still isn’t going to do a lot of damage to your net except for over time.
By following these guidelines, you’ll be able to easily and confidently select the best basketball net for your needs.
Starting the Installation Process
Examining the Basketball Hoop
Before we dive into installing the basketball net, let’s take a look at your basketball hoop. Ensure it is in good condition and secure, which I am sure it already is. We don’t want any accidents during or after the installation process, especially if you just put your hoop in the ground. Check for any signs of wear, rust, or loose parts if your hoop is older. If necessary, tighten any bolts or screws to make sure the hoop is stable to give a fresh recharge before you install the net.
Gather The Necessary Tools
Now that you’ve examined the hoop and made sure everything is okay, it’s time to gather the tools you’ll need for the installation. Here’s a list of items you’ll want to have on hand:
- A new basketball net: Choose a high-quality, durable net that’ll last a long time.
- A ladder: Make sure you have a sturdy and stable ladder that reaches the height of the hoop. Of course, if you have an adjustable hoop at home, you may not need a ladder if you have it on the lowest setting.
- A pair of gloves(optional): These will protect your hands from any rough edges on the hoop while you work, but they may also make it harder to put the loops of the net onto the rim.
With all our tools gathered, we’re ready to start the installation process. In the next section, I’ll walk you through the steps of attaching the net to the basketball hoop.
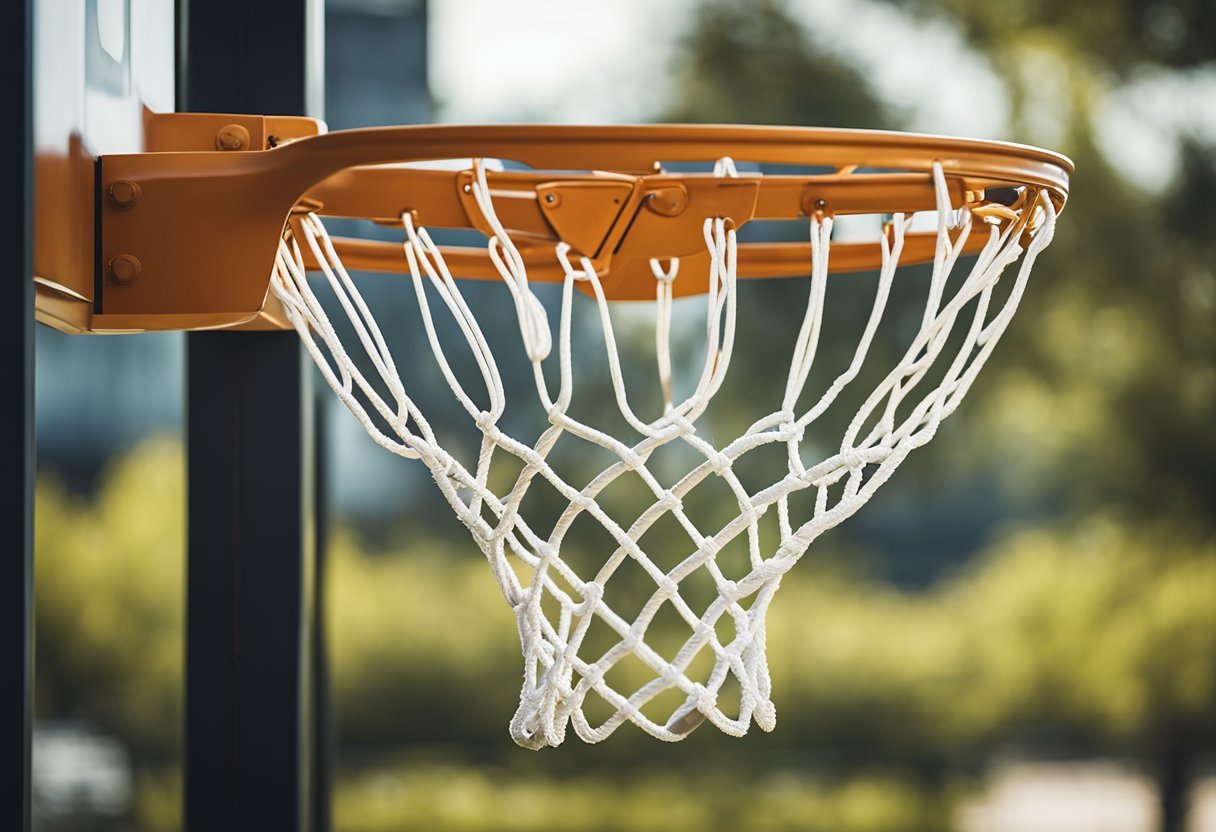
Setting Up the Basketball Net
First, gather your materials, which include the basketball net and a ladder or step stool if needed to make reaching the hoop easier. Begin by positioning the ladder or step stool beneath the hoop. Before you climb up, make sure you’re stable before starting to attach the net. Now that you’re ready to start attaching the net, follow these simple steps-
- Locate the hooks: Check underneath the basketball rim to find the hooks that the net loops will attach to.
- Insert the loops: Start from the front end of the hoop and insert each loop onto the hook.
- Continue around the hoop: Work clockwise or counterclockwise, whichever you prefer, as long as you have a consistent pattern, and continue attaching the loops onto their respective hooks.
Make Sure The Attachments are Correct
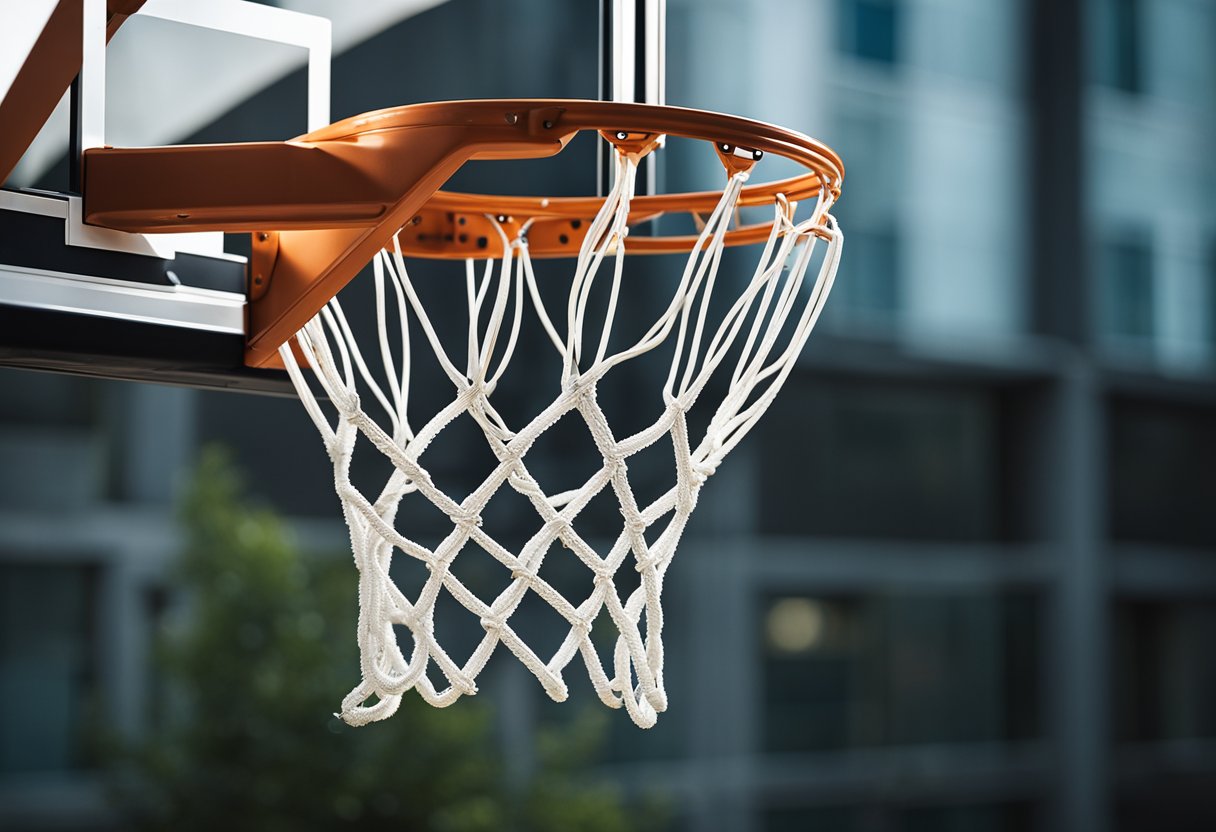
Once all the loops are attached to the rim, it’s important to ensure that they are secure. To do this:
- Double-check connections: Make sure that each loop is attached correctly and that the net isn’t twisted.
- Apply tension: Gently tug on the bottom of the net to make sure the loops have a snug fit around the hooks.
And there you have it! You’ve successfully set up your basketball net, and now you’re all set to enjoy a game with your kids.
Wrap it Up
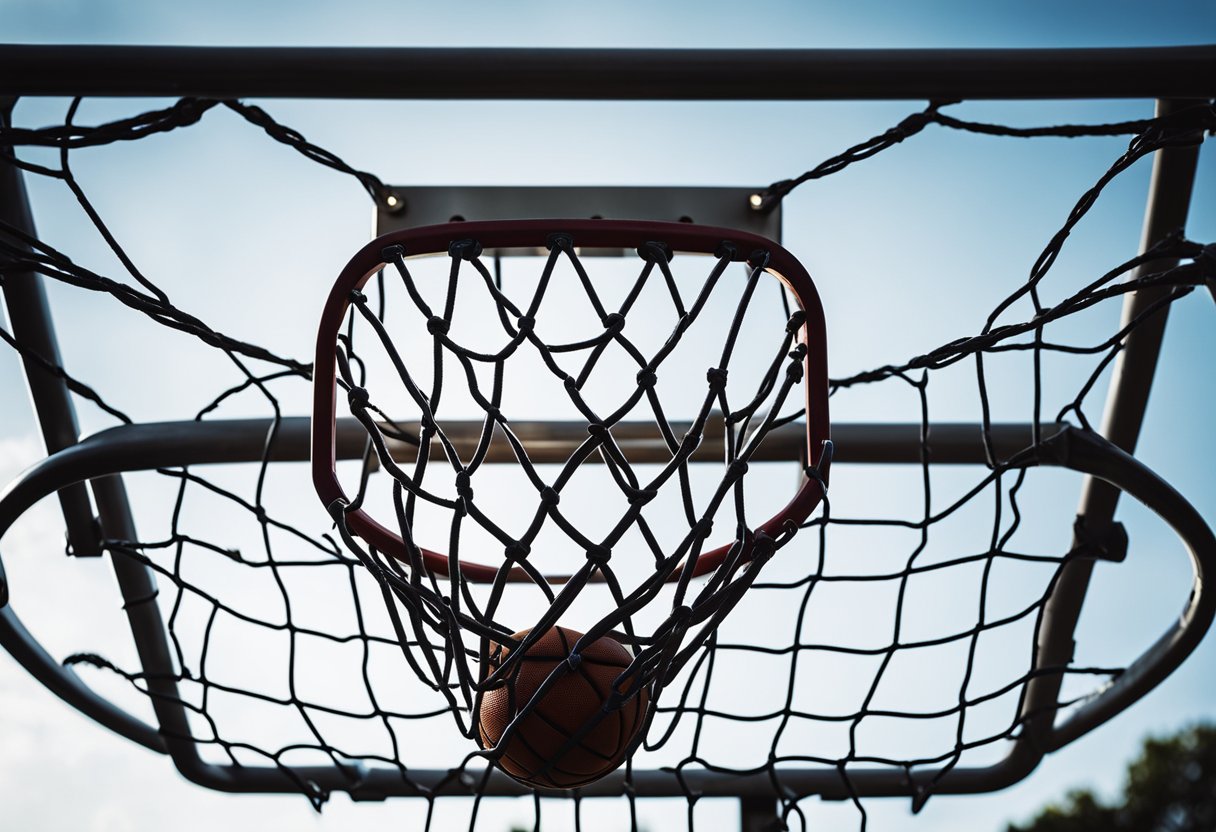
Once I’ve installed the basketball net, I feel it’s important to test the installation to make sure it’s secure and ready for use. The first thing I do is give the net a pull to make sure everything is on correctly.
The next thing to do is grab a basketball and shoot a few balls through the net to make sure everything looks correct. At first it might look a little weird until the net gets broken in, so don’t stress if how the ball goes through the net seems a little off.
Maintenance Tips
Regular Checking-
No one wants to have a basketball hoop out of commission by not doing the proper maintenance. Do your best to check the basketball net for any signs of wear and tear after it’s been on the rim for a while.
By inspecting the net, you can identify potential issues that might lead to the net coming loose or breaking further down the road. Frequent checks will make sure that you can have a new net handy in case you start to see issues before they happen.
Should You Clean Your Basketball Net?
To keep my basketball net looking fresh and lasting longer, I make sure to clean it when it’s starting to look a little weathered. For the best cleaning process, I follow these steps:
- Remove the net: Unhook the net from the rim.
- Soak the net in a bucket or sink: Fill a bucket with warm water and mild detergent. Place the net inside the bucket and let it soak for a couple of hours.
- Gently scrub: Use something like a toothbrush or a sponge to scrub the net gently. Be sure to clean all the strands thoroughly, removing any dirt and debris stuck between them.
- Rinse and dry: Rinse the net thoroughly in clean water to remove all the soap residue, and let it air dry completely before reattaching it to the rim.
When Should You Replace Your Net?
Although regular checking and proper cleaning can extend the life of your basketball net, I also get that, eventually, it will need to be replaced. Here are some signs that it’s time to replace the net are:
- Continuously frayed or broken strands that cannot be mended.
- The net loses its shape or elasticity and doesn’t retain its original form.
- The loops of the net start to wear and break.
Hopefully, these tips on how to replace, take care of, and take down your basketball net will help so that your kids are always happen with having the best-looking basketball hoop in the neighborhood.
Final Thoughts
Attaching the net to the rim is pretty easy, and it doesn’t take a degree in rocket science to get it done. However, it is important that you install it correctly so that you can forgo further problems down the road. The first thing I do is lay out the net on a flat surface so I can identify the larger top loops that will attach to the rim.
Next, I make sure the basketball hoop is secure. If you’ve just installed your hoop you want to make sure the concrete has properly dried before you start tugging on the rim. After I’ve made sure set at if it’s adjustable from 7 to 10 feet. With the net in hand, I align each of the 12 top loops with the corresponding hooks on the rim, making sure they are correctly attached.
Once the net is attached and I’ve made sure that there aren’t any loops that haven’t been attached, I check if it hangs straight, and I also see if there are any loose or twisted strings. After adjusting any imperfections, the basketball net is ready for use!